Automotive Technology
To guarantee the highest quality, WPM Leipzig offers you as manufacturer of cars or supplier specifically adapted testing technology.
To guarantee the highest quality, WPM Leipzig offers you as manufacturer of cars or supplier specifically adapted testing technology.
For joint mobility testing – that means for determining the determination of the breakaway movement and moments of resistance and the force-displacement curve in axial or radial direction - WPM offers different measurement equipment. Based on requirements of German automobile manufacturer and in connection with factory requirements of customers, WPM Leipzig has developed and successfully brought to market a range of testing and measuring machines for suspension joints.
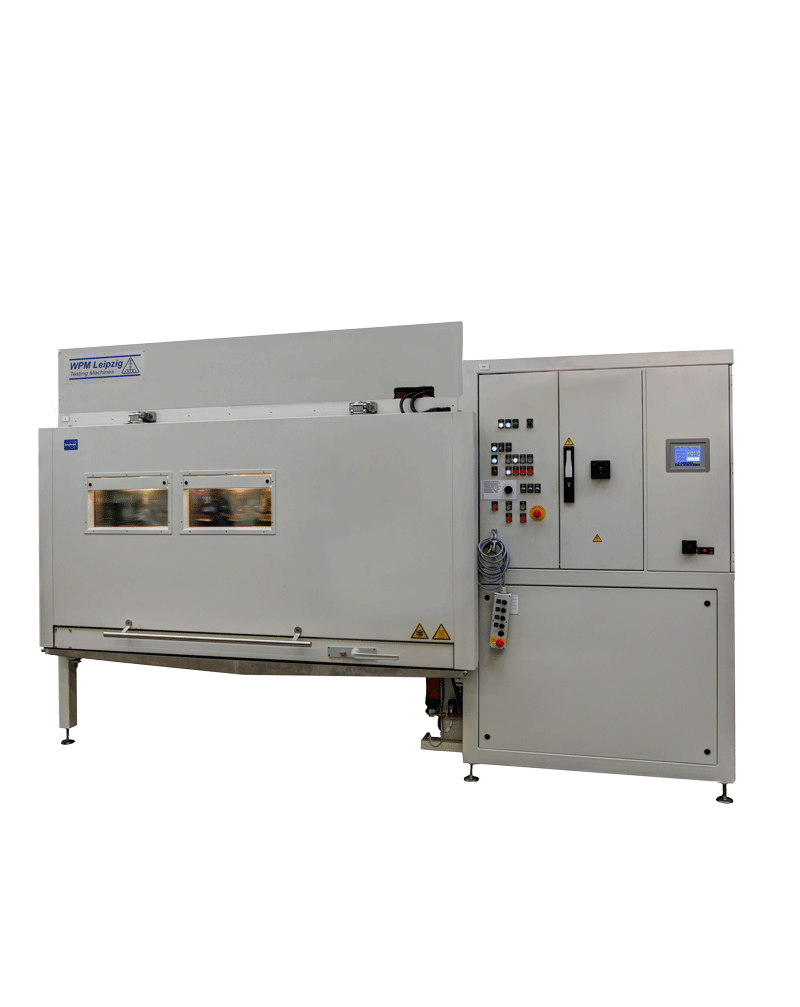
The leak testing machines fulfils the function of carrying out environmental simulations on suspension joints.
Another form of leak testing can be performed with the testing machine for underwater testing SPM.
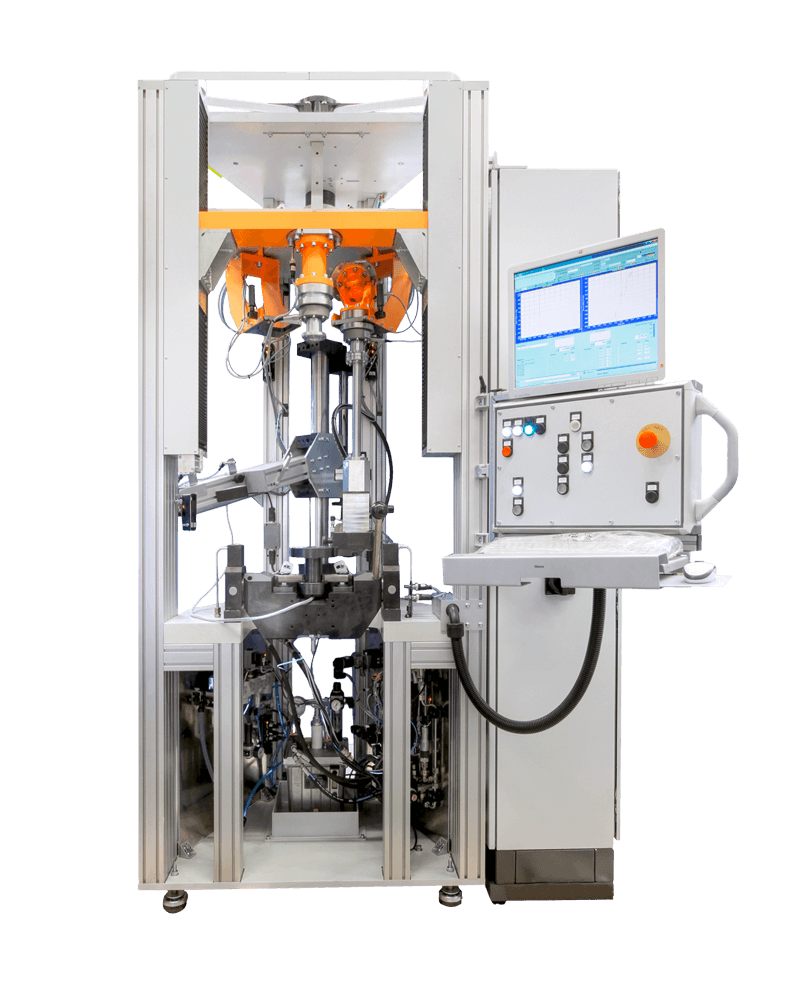
The elasticity measuring machines EMM are used to measure the elasticity and the spring travel of suspension joints in two loading directions.
Device for differential measurements
To increase the measuring accuracy of the measurement of elasticity in axial and radial direction, the installation of a differential measuring device is possible. With this device and the help of displacement sensors attached in axial and radial direction, the relative movement of the suspension housing is determined during the elasticity measurement. This can be removed from the measurement result by the software of the EMM, or it may be used to evaluate the safety (slippage of the joint in the housing).
Free clamping with span/clamping table and second force measuring chain
Optionally, a second force measuring chain can be mounted on the crosshead of the EMM. In conjunction with a special span table, which is mounted within the peg mounting, universal test setups can be realized. This optional load chain is used, for example, for special bodies and/or rare joints for which no adaptations are available, such as rocker lever and bending tests as well as for joint manufacturer typical test setups.
With the second force measuring chain, tensile and compression forces up to 10 kN are possible.
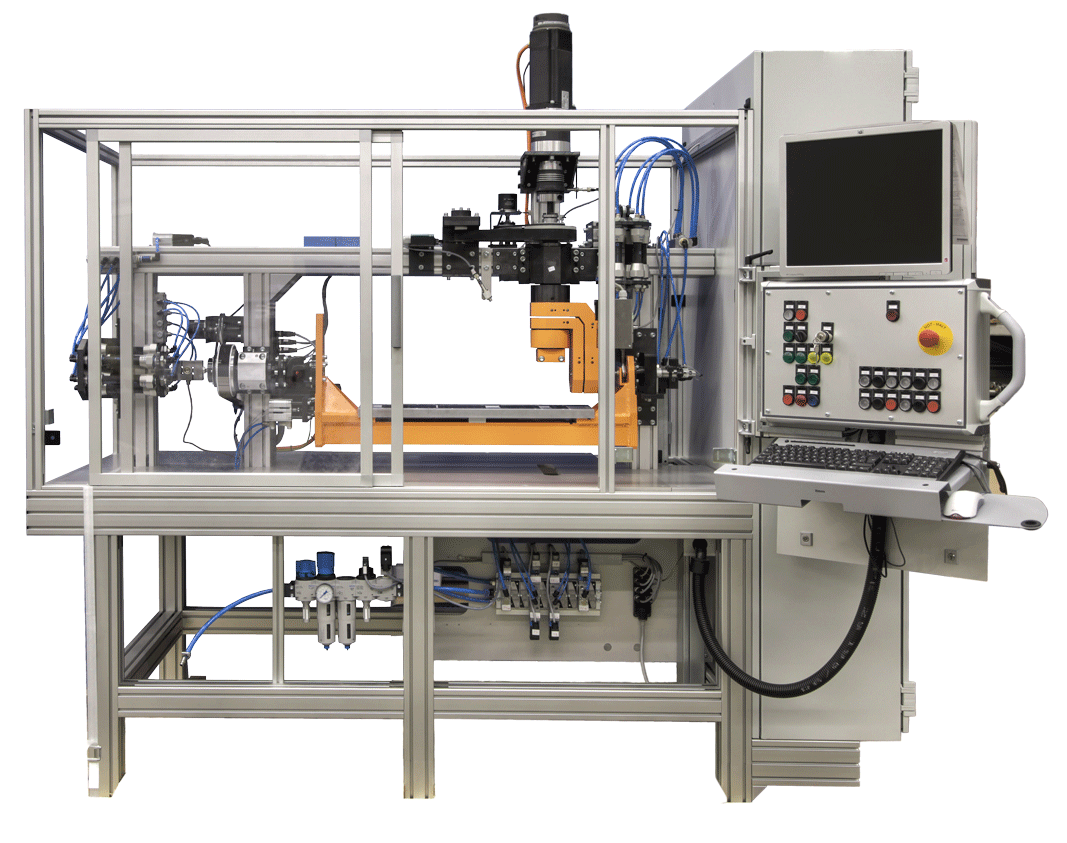
Friction Moment Measuring Machine
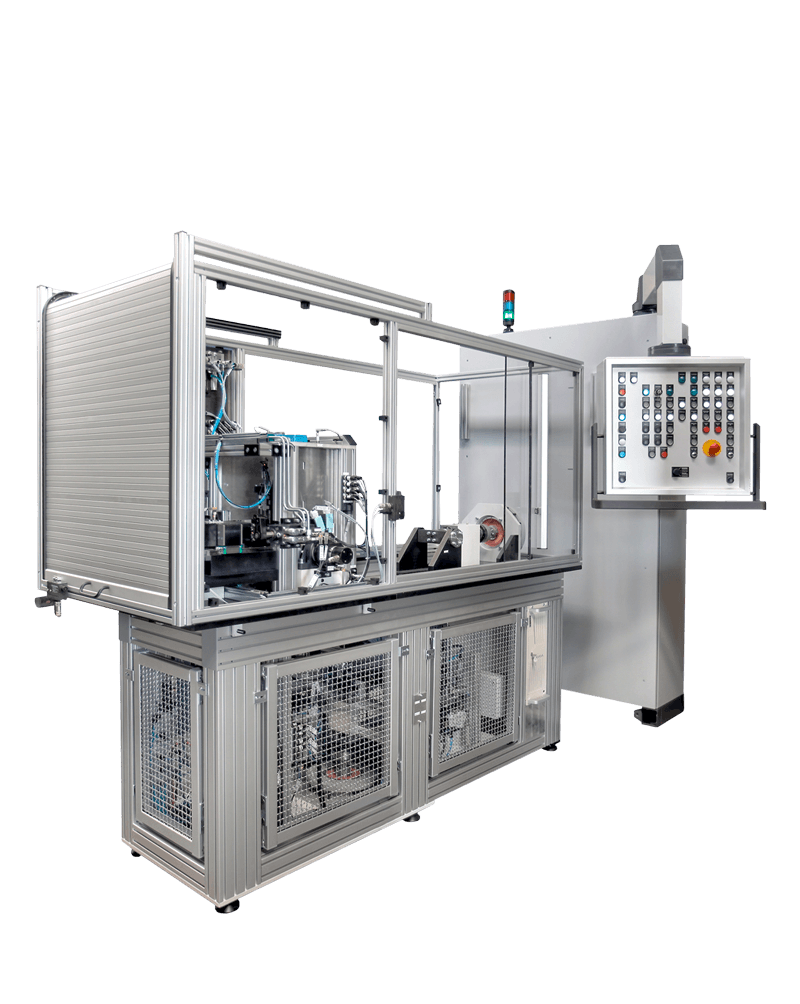
Elasticity and Friction Moment Measuring Machine
The Friction Moment Measuring Machines of WPM are used to determine the friction torque, occurring when the suspension joint, mounted in a bearing shell, is moved.
Electronic Determination of the Stick-Slip-Behavior
For electronic determination of the breakaway torque, the sticking friction and the sliding friction torque of the rotary drive the starting torque of the rotating drive are increased in defined way until the joint breaks loose in the direction of rotation. The rotational speed is regulated to a constant value. The control of the drive reduces the driving torque in defined way until the joint stops by the friction again. The process is repeated.
This method allows determining both, the breakaway torque and the sticking friction torque and its development and the sliding friction moment with its development.
Mechanical Determination of the Stick-Slip-Behavior
With this option, the installation space of the testing machine is expanded to make a stick-slip-measuring on the base of the mechanical determination of stick and sliding friction torques with torsionally soft spring elements possible (additional axis).
In addition to the separate measuring machines EMM and RMM as described, the combined Elasticity and Friction Measuring Machine ERMM is also available. Within this measuring machine, all parameters of the single machines RMM and EMM are determined in one clamping and in one automated measuring sequence.
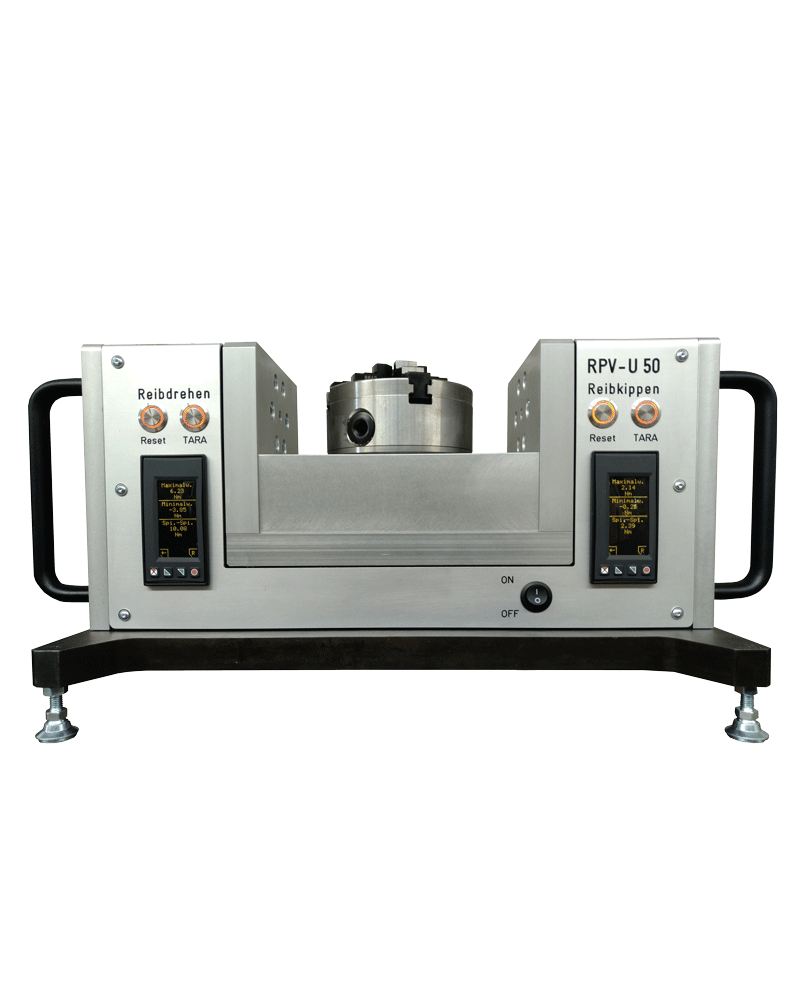
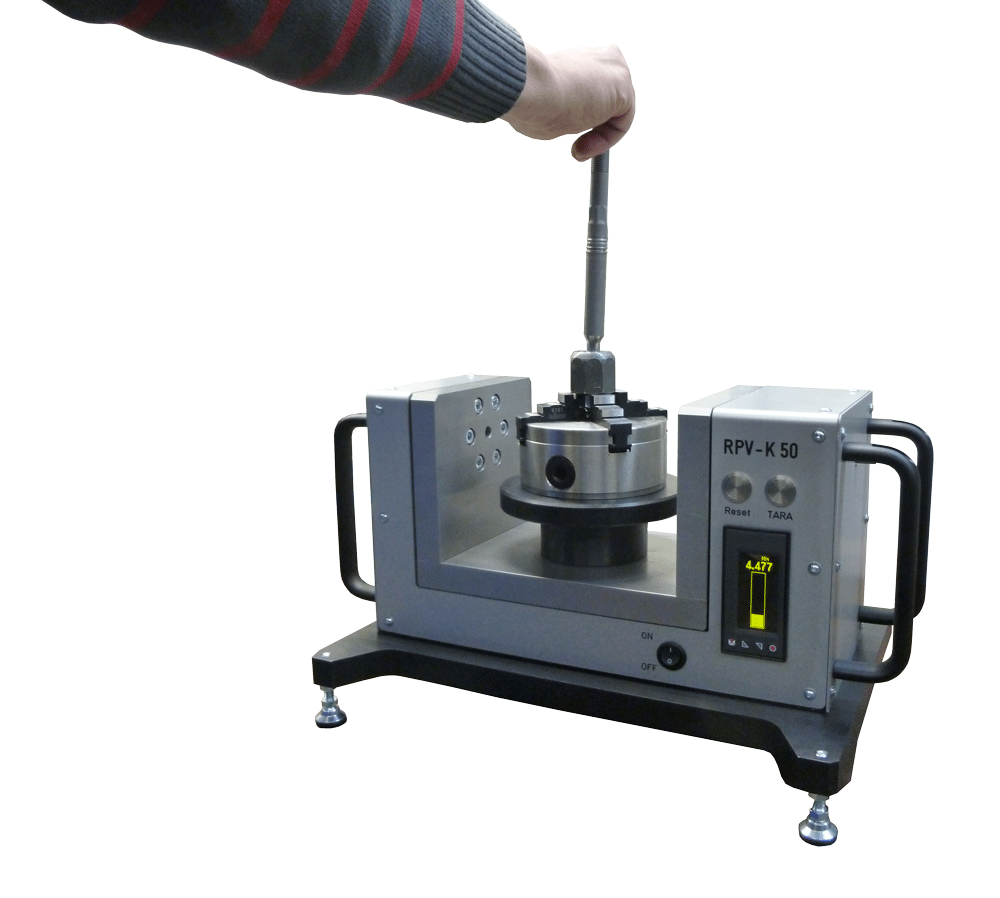
The tilt moment test device RPV is designed for manual tests of suspension joints. The load is applied on the test piece by hand. Both friction tilt moments and torque moments from 0 to 50 Nm can be measured.
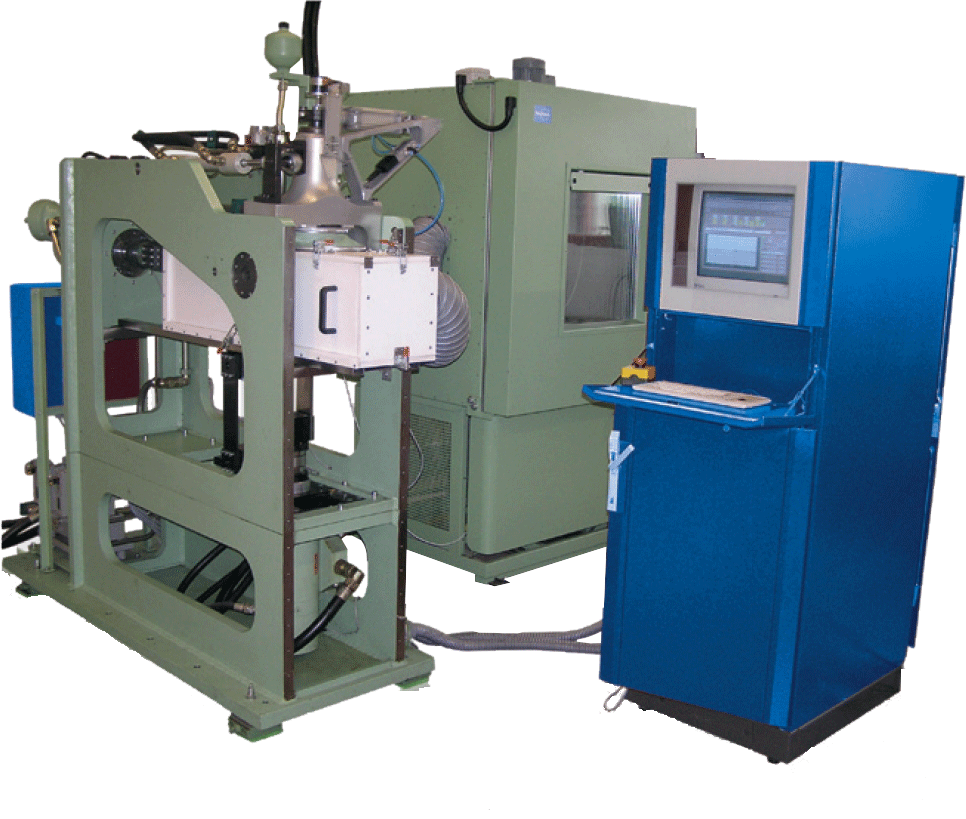
The joint wear test rig GVP is designed to carry out wear tests on ball joints and ball arms in the temperature range from -40° C to +100° C. The joint wear test rig has been designed for stress tests on suspension joints with radial and/or axial load.
The following kinds of loads can be realized:
To control the test rig, the in-house developed devices dynaSax-D2 are applied. They can control, regulate and supervise the three servo-hydraulic testing cylinders and the servo-pneumatic testing cylinder as well as the temperature chamber.
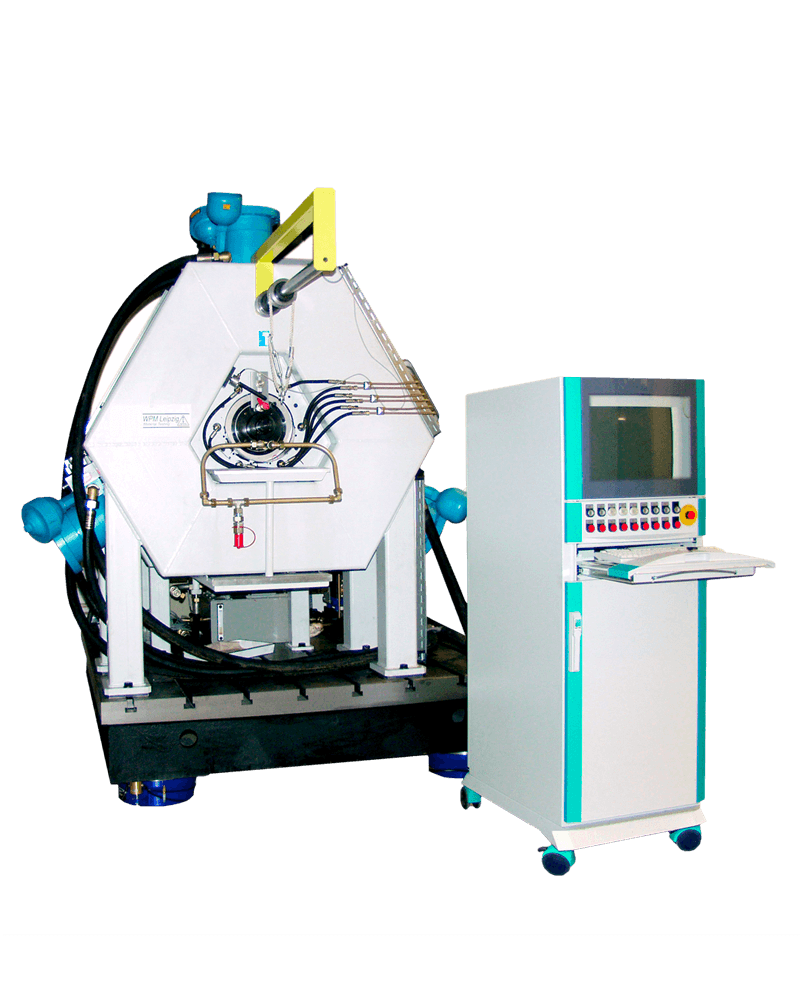
The Slide Bearing Testing Machine GPS 100 is used to examine bearing shells with dynamically highly loaded force impact in combustion engines.